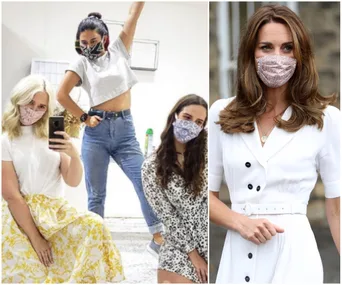
As the COVID-19 pandemic continues and cases remain worryingly pertinent in both Melbourne and other areas around Australia, face masks are quickly becoming the new norm.
At the time of writing, Victorian residents in Melbourne and Mitchell Shire are required to wear a mask at all times while out in public, and other states are also strongly urging citizens to do the same where social distancing measures are unable to be observed.
Of course, with thousands and thousands of people now rushing to get face masks from the shops, you might be hard pressed, or simply out of pocket to buy your own – particularly ones that cannot be recycled.
But fear not – it’s more than possible to create your own mask from home – and you don’t have to cast far and wide to do so.
Given the importance of wearing masks right now, particularly for those in Victoria and other spots where cases continue to grow, we look at how you can create your own one from home.
And no matter what the style, it’s important to remember one thing above all – these masks could save lives.
We reckon that’s as good a reason as any to follow the rules and mask up wherever it’s needed.
How to make a face mask at home
As per the Victorian Department of Health and Human Services website, an easy step by step guide has been shared for people to make a mask with their own materials at home.
Spotlight have also created an easy video showing how you can make your own face mask from said material (which you can view in the player at the top).
WHAT YOU’LL NEED
For your outer layer, one piece of fabric (25cm x 25cm). This should be water resistant fabric if possible, and can be from clothing, reusable green shopping bags or even exercise clothing.
For your middle layer, use another piece of 25cm x 25cm, which can be from a fabric blend including cotton and polyester. Again, this can be from clothing or a reusable shopping bag.
For your inner layer, one more piece of 25 cm x 25 cm fabric is required. This should be water absorbing (like cotton), with clothing material being the ideal fabric yet again (anyone got an old t-shirt lying about?)
For the ear loops, grab an elastic string or cloth strips (shoelaces or t-shirt material is perfect), cut into two 20cm lengths.
STEP ONE: LAYER TOGETHER
As per Vic Health’s guidelines, layer the outer, middle and inner pieces of fabric together, ensuring that the outer layer is on the bottom, and your middle layer is on top.
STEP 2: STITCH
With the inner layer facing up, fold over 1cm of the three pieces on the top and bottom edges and stitch at the borders.
Then, with the inner layer facing upwards, fold over 1.5cm of material for the other sides that haven’t been folded yet.
STEP 3: LOOP HOLES
Then, take your fabric for the loopholes and thread them through the folded over edge on each side.
Handy hint – a safety pin helps to thread it through the gap!
STEP 4: WEAR WITH CARE
Knot the ends of your loophole fabric together and it’s good to go!
Wash your hands before putting the mask on, and as you do so, keep the outer layer on the outside, and the inner layer closest to your mouth.
Ensure that the mask fits snugly around your nose and mouth, and do not touch the outer layer of the mask when wearing it.
And that’s how it’s done – so if you’re unable to buy a face mask whilst out and about, you can still do so at home.
Remember, it’s better to be safe than sorry – and if anything, take cues from the famous faces below.
They’ve got the right idea when it comes to covering up.


